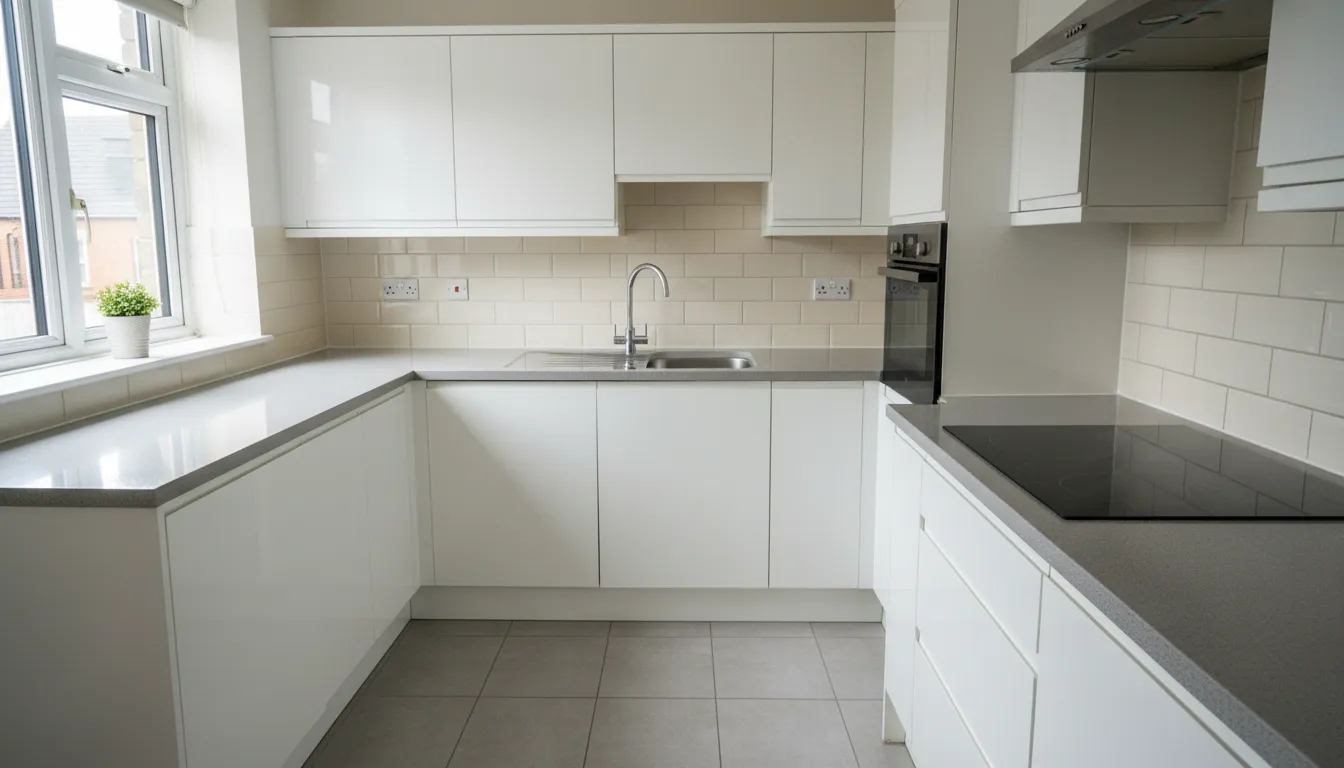
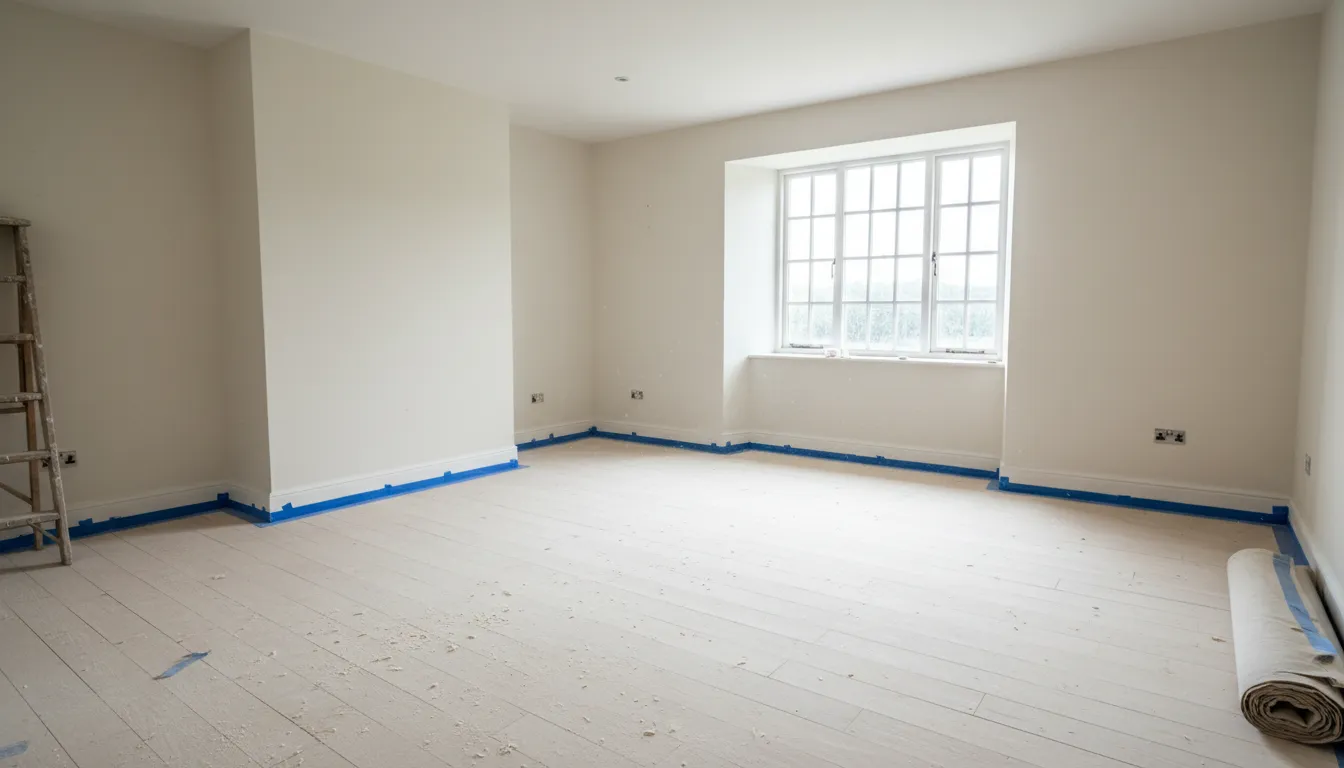
Fine construction dust has a way of turning up long after the builders leave. It settles on shelves, hides inside cupboards, clings to skirting boards, and reappears the moment sunlight hits the room. A quick hoover and mop rarely fix it, because renovation dust is much finer than everyday household dirt.
The trick is to clean in the right order. If the air, walls, ledges, and floors are tackled randomly, dust just moves from one surface to another. A slower, top-down approach gives a much better finish and helps protect paintwork, flooring, appliances, and soft furnishings.
Let the dust settle before the first clean
After sanding, drilling, plastering, or cutting, fine particles can hang in the air for hours. If cleaning starts too soon, the dust will simply resettle on surfaces that have already been wiped.
Start by opening windows where it is safe to do so. Create gentle airflow, not a gale. Strong draughts can push dust deeper into other rooms. Keep internal doors closed and use old towels or dust sheets at thresholds to stop dust travelling through the home.
If the renovation involved plaster, concrete, MDF, tile cutting, or heavy sanding, wear a suitable dust mask while cleaning. Ordinary cloth face coverings are not designed for fine construction particles. Gloves and eye protection are also sensible when dust is still loose and airborne.
Before cleaning, remove anything that will make the job harder:
- Empty cardboard boxes from the work area
- Used dust sheets and plastic sheeting
- Loose offcuts of timber, plasterboard, or tile
- Packaging from fixtures, fittings, and appliances
Roll dust sheets inwards before moving them. Shaking them out indoors will undo a lot of progress.
Clean from the top down every time
The most common mistake after renovation work is starting with the floor. Floors look worst, so it feels natural to begin there. But ceilings, light fittings, curtain poles, shelves, door frames, and walls will all drop dust as soon as they are touched.
Work from the highest point in the room down to floor level. This order keeps the job controlled.
A good sequence looks like this:
- Ceilings and upper corners
- Light fittings and extractor vents
- Tops of wardrobes, cupboards, and shelves
- Walls, doors, and frames
- Window sills, radiators, and skirting boards
- Floors and thresholds
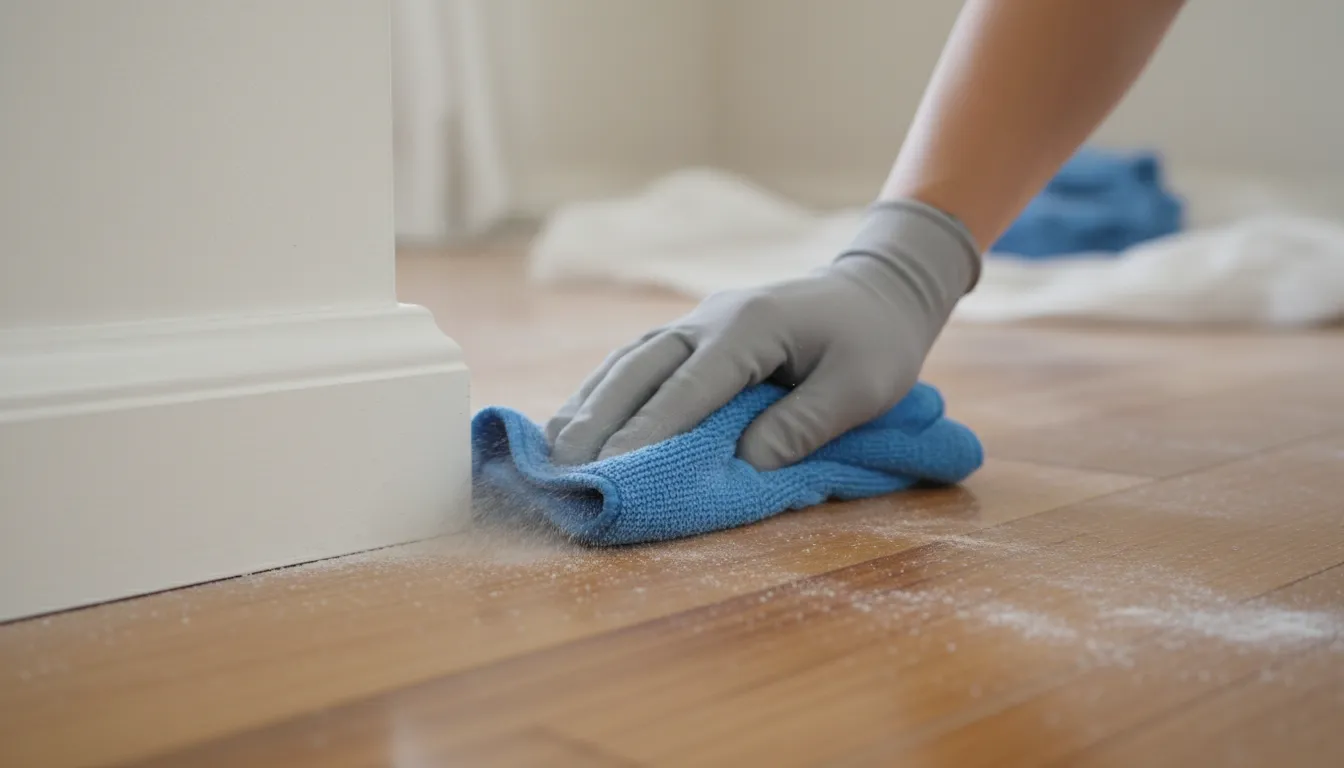
Use a dry microfibre cloth or soft brush attachment first. Damp cloths can turn plaster dust into a paste, which may smear across paint, timber, or tiles. Once the loose dust has been lifted, follow with a lightly damp microfibre cloth.
For painted walls, avoid soaking the surface. Newly painted areas can mark easily while they are still curing. Use gentle pressure and rinse cloths often in clean water.
Use the right vacuum and cloths
A standard household vacuum can struggle with fine construction dust. In some cases, very fine particles pass through the filter and blow back into the room. That creates the frustrating effect of cleaning for an hour, then seeing dust land again ten minutes later.
Use a vacuum with a HEPA filter where possible, especially for fine plaster or sanding dust. If the dust load is heavy, a suitable trade or a wet-and-dry vacuum with the correct filter may be a better choice. Always check the manufacturer’s guidance, as fine dust can damage some domestic machines.
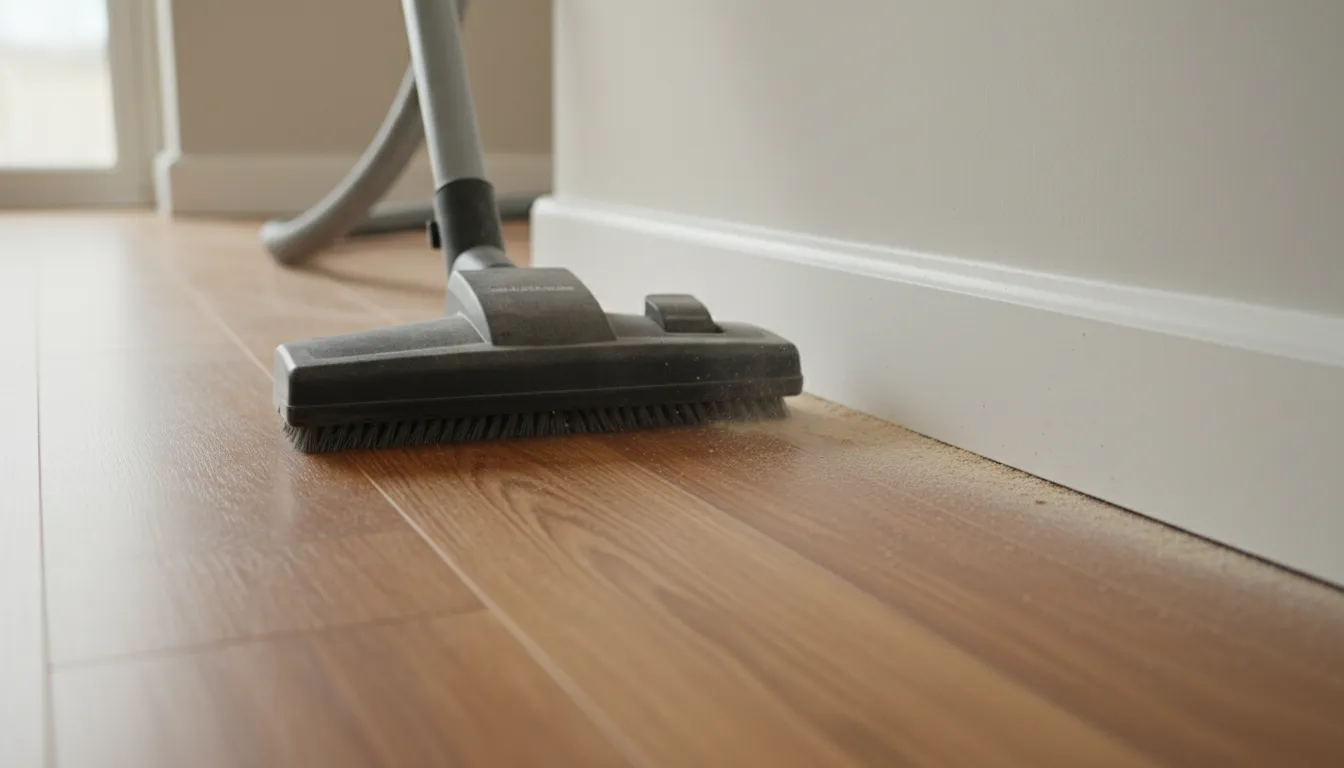
For best results, vacuum slowly. Rushing over the floor lifts surface dust but leaves fine particles in joints, grout lines, carpet edges, and gaps around skirting boards.
Useful tools include:
Tool
Best use
HEPA-filter vacuum
Floors, edges, shelves, and vents
Microfibre cloths
Painted surfaces, trim, doors, and fittings
Soft brush attachment
Corners, vents, radiators, and delicate edges
Flat mop with washable pad
Hard floors after vacuuming
Bucket of clean warm water
Rinsing cloths and mop pads often
Change water as soon as it turns cloudy. Dirty water spreads a pale film across surfaces, especially on darker tiles or timber flooring.
Tackle floors, vents, and hidden dust traps
Hard floors need more than one pass. Vacuum first, working into corners and along skirting boards. Then damp mop using clean water and a mild floor-safe cleaner. Avoid harsh products unless the floor manufacturer recommends them.
For timber or laminate floors, keep moisture low. A nearly dry mop is safer than a wet one. For tile floors, pay attention to grout lines, where pale dust can settle and make the whole room look unfinished.
Carpets and rugs are harder. Vacuum slowly in overlapping lines, then repeat at a right angle. If dust has been ground into the fibres, professional carpet cleaning may be needed.
Vents and filters are easy to forget. Renovation dust can collect in:
- Cooker hood filters
- Bathroom extractor fans
- Air vents
- Radiator fins
- Heat pump or ventilation system filters
- Window trickle vents
Turn systems off before cleaning vents or filters, and follow the appliance instructions. If filters look blocked or damaged, replace them rather than trying to wash them if they are not washable.
Do a second clean after a day or two
Even careful cleaning rarely removes every particle in one go. Fine dust can settle from the air, fall from high ledges, or work its way out of gaps after the first clean.
Plan a second, lighter clean 24 to 48 hours later. This is often the stage that makes the room feel properly finished.
Focus on:
- Window glass and frames
- Kitchen worktops and inside cupboards
- Door handles and switches
- Sanitaryware and taps
- Shelves and wardrobes
- Floors near thresholds
- Soft furnishings that were left nearby
Wash or vacuum curtains, cushions, and removable covers if they were exposed. Dust on fabric can keep releasing into the room each time it is moved.
For kitchens, clean inside drawers and cupboards before putting food, plates, or utensils back. Wipe appliance tops and sides, not just the visible fronts. Fine dust often gathers behind kettles, toasters, and freestanding appliances.
Know when to call in a specialist
Most light post-renovation dust can be handled with patience and the right equipment. Some situations need extra care.
Get specialist advice if the work involved old paint, suspected asbestos-containing materials, large amounts of concrete cutting, or heavy dust inside ventilation systems. Do not sweep or vacuum unknown hazardous material with ordinary household equipment.
A professional post-build clean can also make sense after full-house renovations, kitchen refits, attic conversions, or major bathroom work. The main value is not just speed. It is the use of suitable equipment, careful sequencing, and experience with surfaces that mark easily.
The clean finish comes from patience
Removing fine construction dust after renovation is less about scrubbing hard and more about working in the right order. Let the dust settle, ventilate gently, clean from the top down, vacuum slowly with proper filtration, and follow with light damp wiping.
The final test is simple: run a clean hand over a windowsill, skirting board, or shelf the next day. If it comes away clear, the room is finally ready to enjoy.
Don’t let fine construction dust linger after your renovation. Effective Cleaning Services Dublin can help leave your space clean, fresh, and ready to use. Book online , contact us today, or visit our website to arrange your post-renovation cleaning.